Sound Foam Placement Explained
Updated Nov 13, 2026 · By  Jonah Mercer · Editorial policy
As an Amazon Associate I earn from qualifying purchases. Buying through the Amazon links on this page costs you nothing extra. Full disclosure
Put sound foam where sound hits the wall first: behind and beside the mic, at ear height, on the wall you face while you record. Start with the first reflection points, then add panels until the echo drops.
Find the walls the sound hits first
Sit or stand where you record and look at the walls to your left, to your right and behind you. Sound leaves the mic and the speaker, hits those walls and comes back as echo, so foam there cuts the echo before it reaches the mic again. Mark those spots first, since foam on a wall the sound never reaches does little.
Cover the first reflection points
Place panels at ear height on the side walls and the wall behind the mic, with the panels spaced out rather than packed into one corner. Leave gaps between panels so the wall still takes some sound, and check the echo after each row before you add more. A pyramid or wedge face gives the panel more surface to catch sound.
Treat the ceiling and the corners next
After the side walls, put panels on the ceiling above the mic and in the corners behind the desk. Corners collect low sound that wall panels miss, and the TOUO panels also work as bass traps for low frequencies. Foam on the ceiling catches sound that bounces between the floor and the ceiling before it reaches the mic.
Mount on clean, dry, smooth walls
Foam holds on a clean, dry and smooth wall, so wipe the wall down and let it dry before you mount anything. The Temgcuam panels come with 270 adhesive pads, and the TOUO panels come with 60 pieces of double-sided adhesive tape. Press each panel flat, hold it in place, and leave it alone until the adhesive sets.
What you need

SD SODOCT 24 Pack 2” Thick Pyramid Acoustic Foam
A 24 pack of 2 inch thick pyramid panels covering 24 sq ft, with flame retardant foam and a 6-month warranty, for walls and ceilings in home studios.
- Thickness: 2 in
- Fire-rated
- Panels in pack: 24
- Material: Acoustic Foam
- 6-month warranty stated
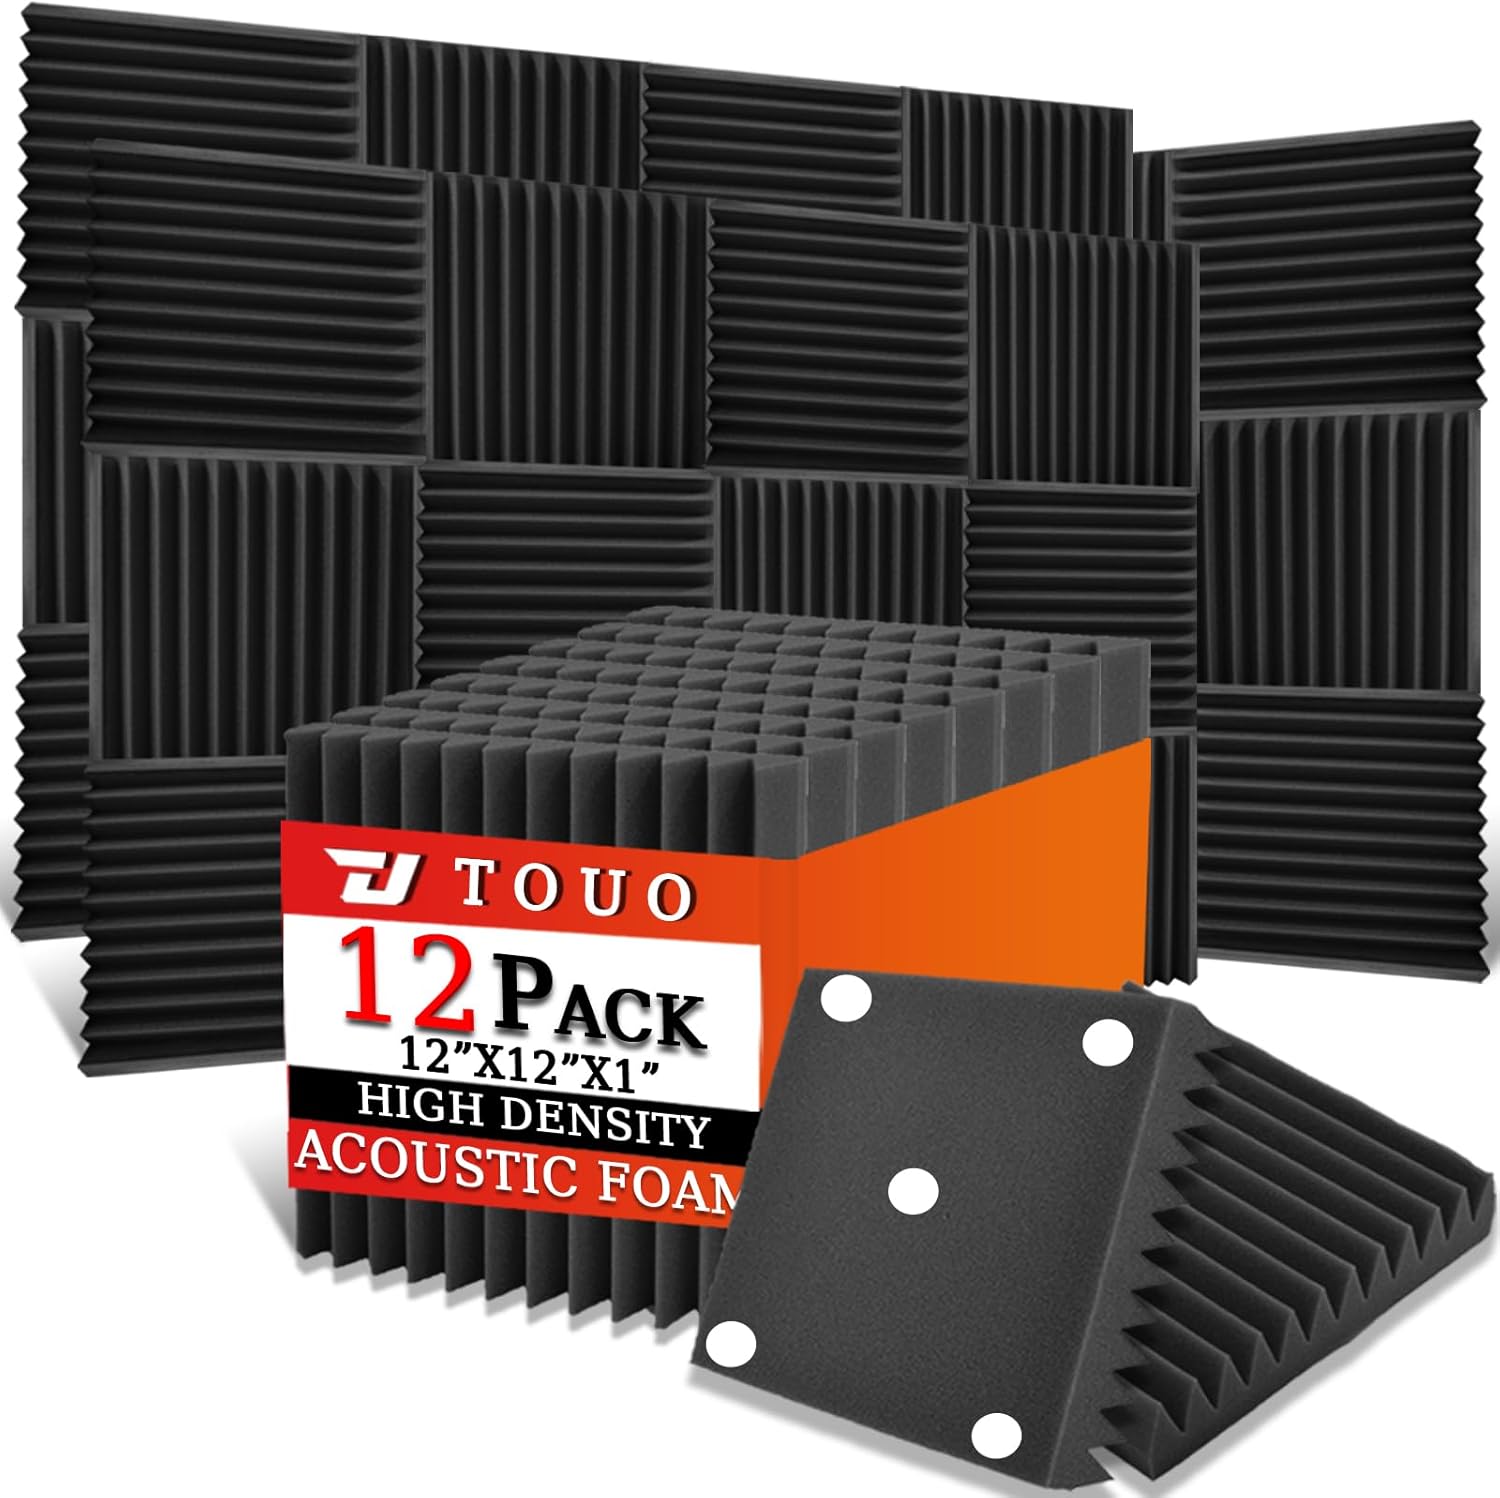
TOUO 12 Pack Acoustic Panels
A 12 pack of 1 inch thick wedge panels with 60 pieces of double-sided adhesive tape, made to cut echo and flutter in home studios and offices.
- Thickness: 1 in
- Fire-rated
- Panels in pack: 12
- Material: Foam

Knightsacoustic 50 Pack Sound Proof Foam Panels
A 50 pack of 2 inch thick wedge panels for walls, doors and ceilings, with no adhesive included, made to absorb sound and reduce echo.
- Thickness: 2 in
- Panels in pack: 50
- Material: Foam

Temgcuam 54 Pack Acoustic Foam Wall Panels
A 54 pack of 1 inch thick wedge panels with 270 adhesive pads, for studios, gaming rooms and offices, in a 12 x 12 x 1 inch size.
- Panels in pack: 54, the most here
- Material: Acoustic Foam
These come from our ranked list Best Acoustic Foam, which compares them spec by spec.
Frequently asked questions
Does sound foam soundproof a room?
No. It manages the sound already in the room instead of sealing the room off.
How thick should sound foam be?
The panels here run 1 inch or 2 inches thick: the TOUO and Temgcuam panels are 1 inch, while the SD SODOCT and Knightsacoustic panels are 2 inches. Thicker foam absorbs more sound, so match the thickness to the echo in the room.
Where do I put foam first?
Start behind and beside the mic at ear height, on the wall you face while you record. Cover the side walls and the wall behind the mic first, then move to the ceiling and the corners.
Do I need adhesive to mount foam panels?
The Temgcuam panels come with 270 adhesive pads, and the TOUO panels come with 60 pieces of double-sided adhesive tape. The SD SODOCT panels mount with construction adhesive or nano double side tape, which is not included, and the Knightsacoustic panels do not include adhesive.
Ranked acoustic panels lists
More how-to guides
Product details come from each Amazon listing and can change. Check the listing before you buy.